Rômulo Machado
Writing
Using Ember Simple Auth 1.0 with Devise
Server-side setup
These instructions assume you’re using the default Devise configuration and models. As token authentication is not actually part of Devise anymore, there are some customizations necessary on the server side.
First, a new column for the authentication token must be added to the users table:
class AddAuthenticationTokenToUser < ActiveRecord::Migration
  def change
    add_column :users, :authentication_token, :string
  end
end
That authentication token must be auto-generated by the model on creation:
class User < ActiveRecord::Base
  before_save :ensure_authentication_token

  def ensure_authentication_token
    if authentication_token.blank?
      self.authentication_token = generate_authentication_token
    end
  end

  private

    def generate_authentication_token
      loop do
        token = Devise.friendly_token
        break token unless User.where(authentication_token: token).first
      end
    end
end
By default, Devise’s sessions controller only responds to HTML request. In order for it to work with Ember Simple Auth it must also respond to JSON. To achieve that, define a custom sessions controller (if HTML responses are not needed the format handling can be left out of course):
class SessionsController < Devise::SessionsController
  respond_to :html, :json

  def create
    super do |user|
      if request.format.json?
        data = {
          token: user.authentication_token,
          email: user.email
        }
        render json: data, status: 201 and return
      end
    end
  end
end
and configure Devise to use that controller instead of the default one:
MyRailsApp::Application.routes.draw do
  devise_for :users, controllers: { sessions: 'sessions' }
end
The Rails application must authenticate users by their authentication token and email if present:
class ApplicationController < ActionController::Base
  before_filter :authenticate_user_from_token!

  # Enter the normal Devise authentication path,
  # using the token authenticated user if available
  before_filter :authenticate_user!

  private

  def authenticate_user_from_token!
    authenticate_with_http_token do |token, options|
      user_email = options[:email].presence
      user = user_email && User.find_by_email(user_email)

      if user && Devise.secure_compare(user.authentication_token, token)
        sign_in user, store: false
      end
    end
  end
end
The Rails application should also not issue session cookies but authentication
should be done exclusively via the authentication token as described above. The
easiest way to disable sessions in Rails is to add an initializer
config/initializers/session_store.rb and disable the session store in that:
Rails.application.config.session_store :disabledThe backend app also needs to support Cross-Origin Resource Sharing, so you need to install rack-cors:
Add it to the Gemfile:
gem 'rack-cors', :require => 'rack/cors'In config/application.rb, add:
module YourApp
  class Application < Rails::Application

    # ...

    config.middleware.insert_before 0, "Rack::Cors" do
      allow do
        origins '*'
        resource '*', :headers => :any, :methods => [:get, :post, :options]
      end
    end

  end
end
Use the console to create a User before moving to the Ember part.
> User.create! email: "user@example.com", password: "password"The front-end side
Using ember-cli, create the app:
ember new frontendMake sure you’re using Ember >= 2.0.0.
Install the addon ember-simple-auth:
ember install ember-simple-authThen run bower install && npm install.
This example app will have basically 3 pages: a landing page (where we’ll show information about the app), a login page and a dashboard page (only logged users can see).
First, make the application.js route extend ApplicationRouteMixin.
The
ApplicationRouteMixinmixin defines actions that are triggered when authentication is required, when the session has successfully been authenticated or invalidated or when authentication or invalidation fails or authorization is rejected by the server.
// app/routes/application.js
import Ember from 'ember';
import ApplicationRouteMixin from 'ember-simple-auth/mixins/application-route-mixin';

export default Ember.Route.extend(ApplicationRouteMixin);
Now, the landing page. Create a file named index.hbs on app/templates/ and move the <h2 id="title">Welcome to Ember</h2> from app/templates/application.hbs to that file. Both templates should look like this:
<!-- app/templates/application.hbs -->
{{outlet}}
<!-- app/templates/index.hbs -->
<h2>Welcome to Ember</h2>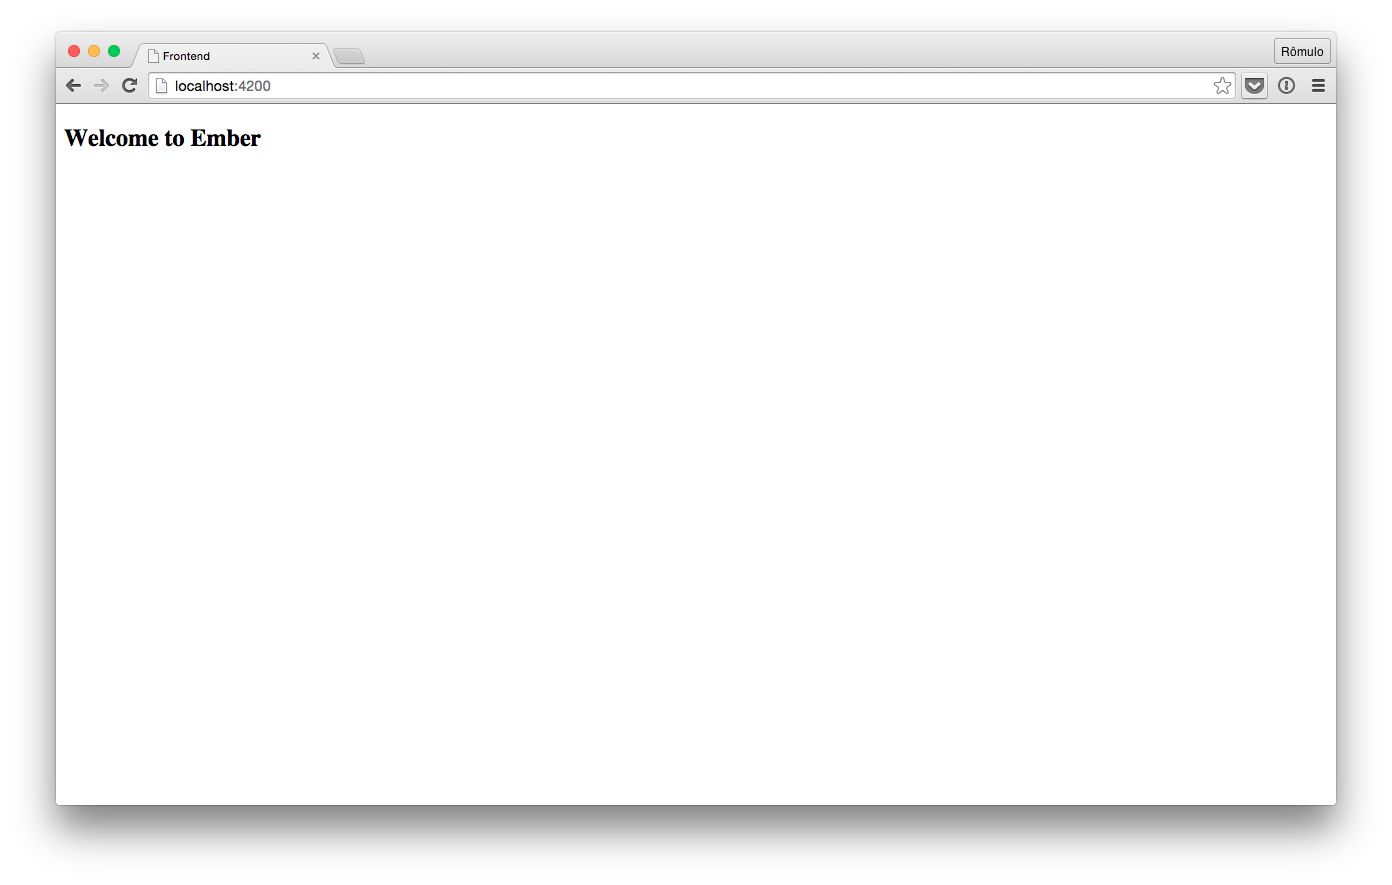
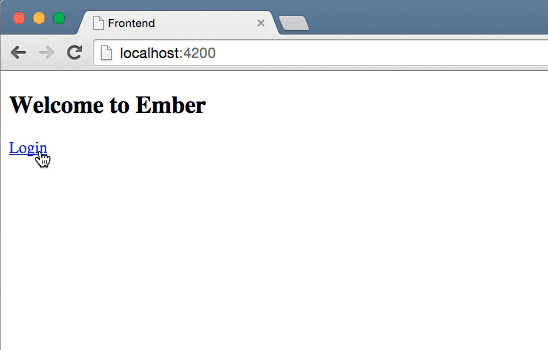
Habemus landing page! On to the login page now.
Using ember g, generate a route named login:
ember g route loginThat will create two files (app/routes/login.js and app/templates/login.hbs), will add a route to app/router.js and create unit tests as well.
A /login now exists and you can link to. Add the following code to the bottom of your landing page:
{{#link-to 'login'}}Login{{/link-to}}And make login route extend UnauthenticatedRouteMixin provided by ESA.
import Ember from 'ember';
import UnauthenticatedRouteMixin from 'ember-simple-auth/mixins/unauthenticated-route-mixin';

export default Ember.Route.extend(UnauthenticatedRouteMixin);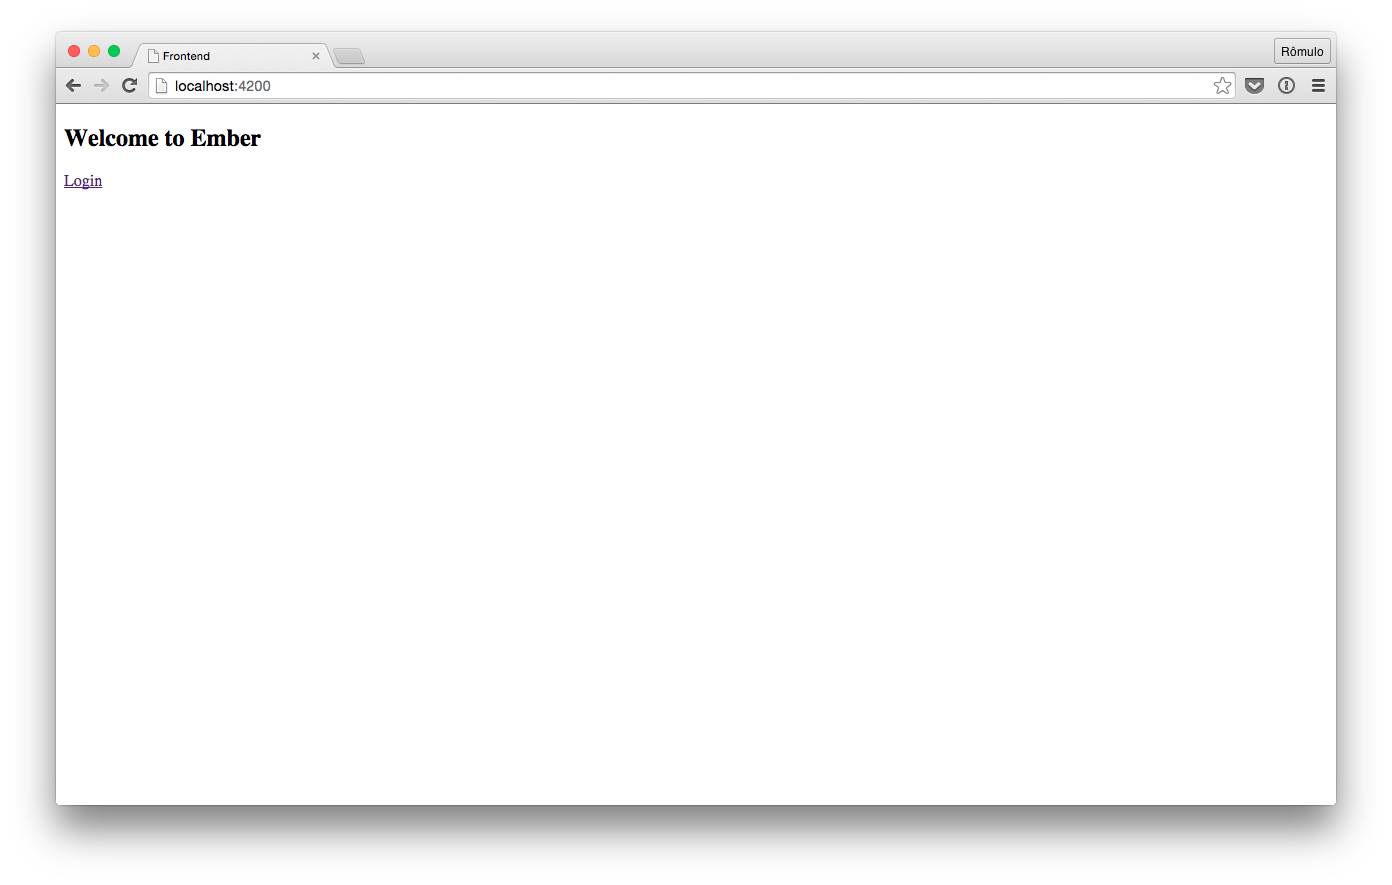
And add some content to app/templates/login.hbs:
<!-- app/templates/login.hbs -->
<h2>Login</h2>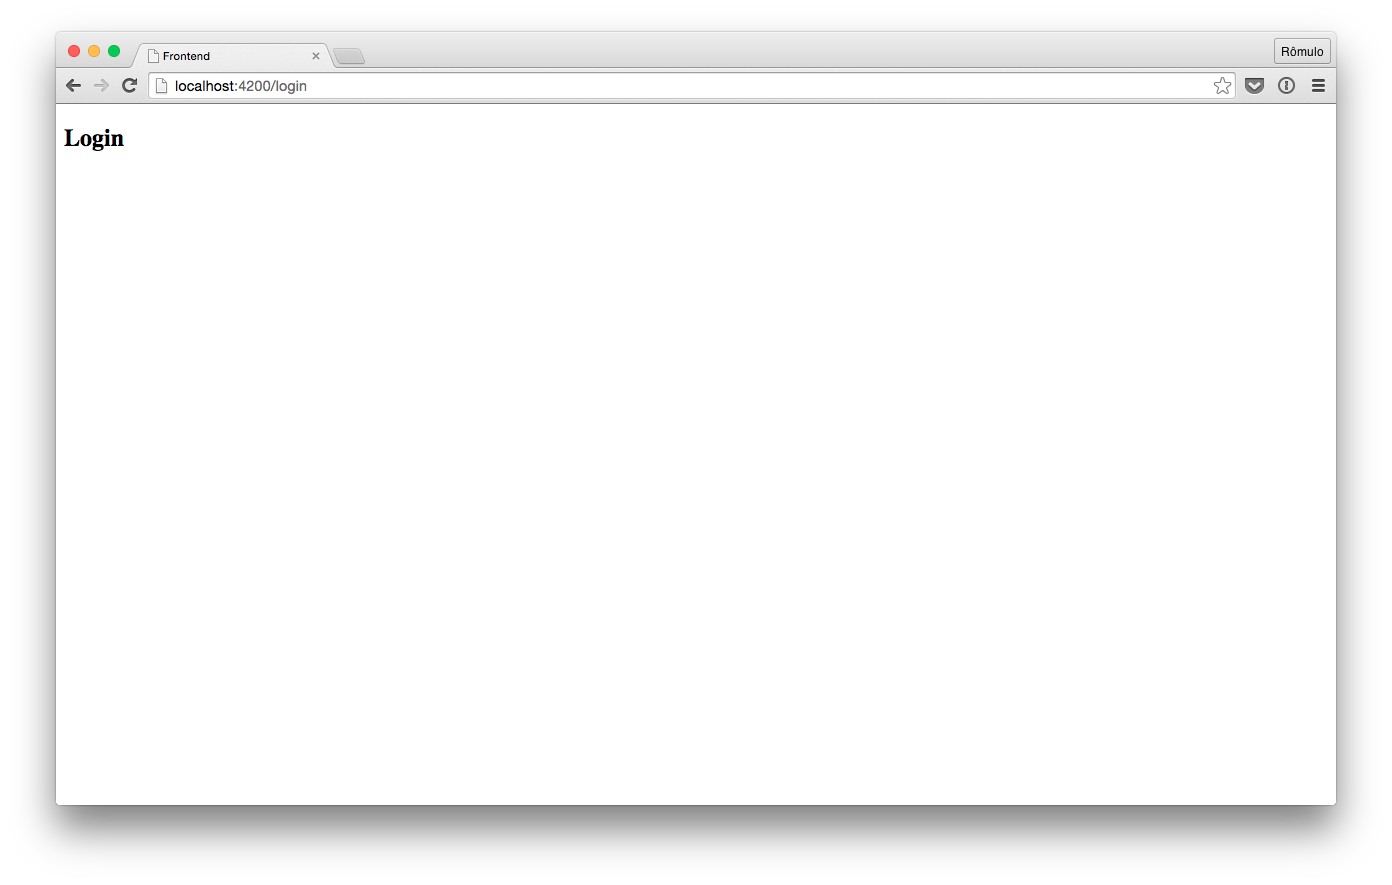
Now, you have to create a login-form component to handle the login.
ember g component login-formIn app/templates/components/login-form.hbs, add:
<!-- app/templates/components/login-form.hbs -->
<form {{action "authenticate" on="submit"}}>
  <label for="identification">Login</label>
  {{input value=identification placeholder="Enter Login"}}

  <label for="password">Password</label>
  {{input value=password type="password" placeholder="Enter Password"}}

  <button type="submit">Login</button>
</form>

{{#if errorMessage}}
  {{errorMessage}}
{{/if}}
And add the login-form component on the login template, the app/templates/login.hbs file should look like this:
<!-- app/templates/login.hbs -->
<h2 id="title">Login</h2>

{{login-form}}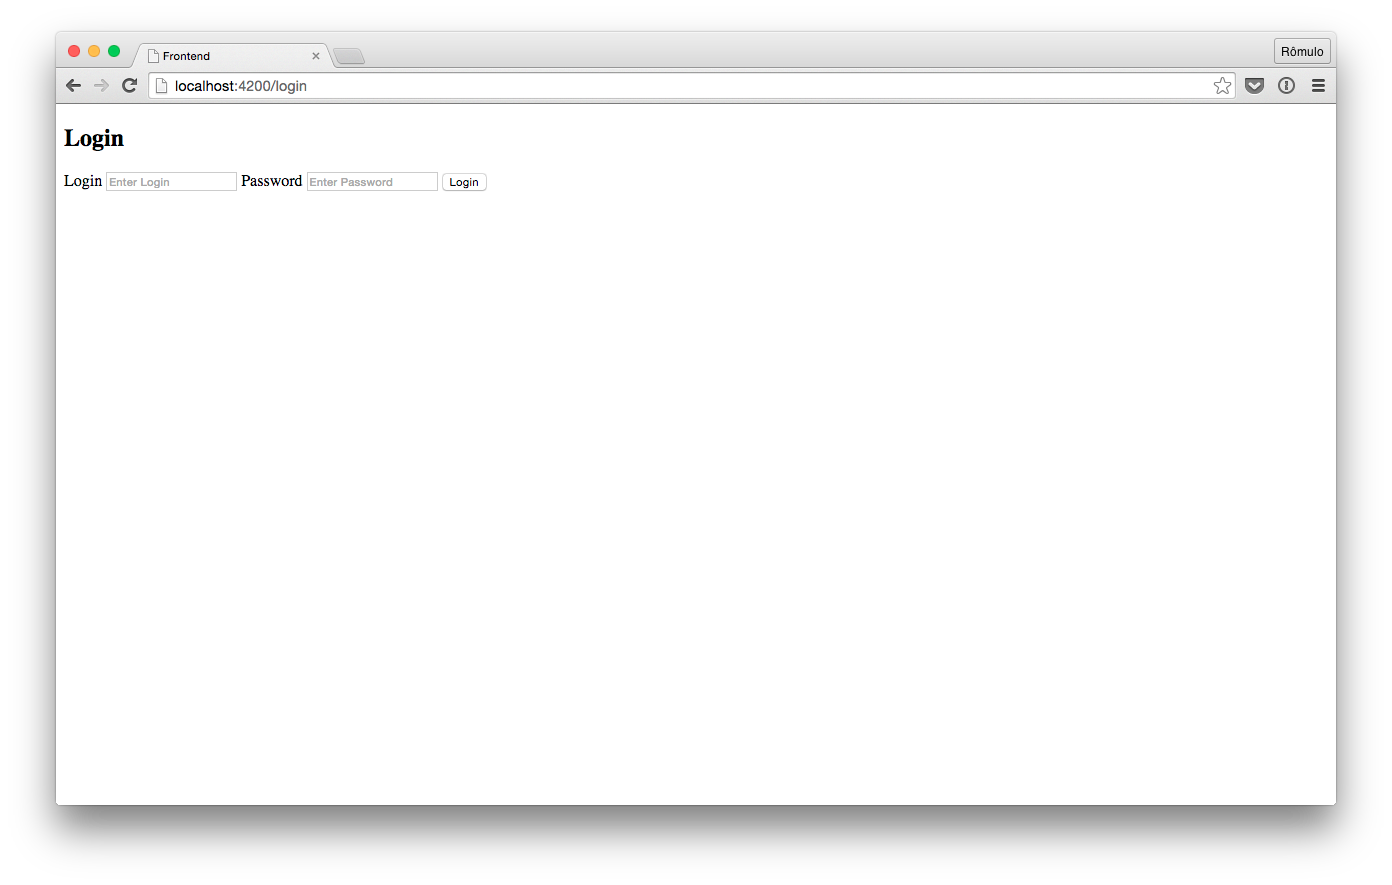
The login-form component calls authenticate when the form is submitted, but there’s no authenticate action on it yet. Add it:
// app/components/login-form.js
import Ember from 'ember';

export default Ember.Component.extend({
  actions: {
    authenticate: function() {
      alert("Hey! I tried, but I don't know how to authenticate.");
    }
  }
});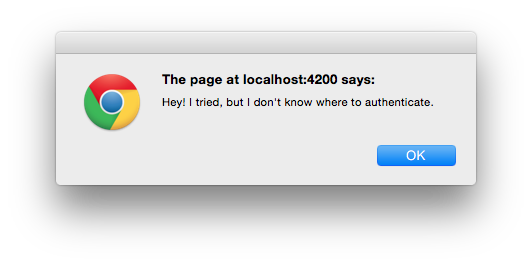
As the component alerted, it does not know how to authenticate the session. We have to extend the devise authenticator ember-simple-auth gives us.
Authenticators implement the concrete steps necessary to authenticate the session. An application can leverage several authenticators for different kinds of authentication mechanisms (e.g. the application’s own backend server, external authentication providers like Facebook etc.) while the session is only ever authenticated with one authenticator at a time.
Create a file named devise.js on app/authenticators/ and add the following code:
// app/authenticators/devise.js
import Devise from 'ember-simple-auth/authenticators/devise';

export default Devise.extend({
  serverTokenEndpoint: 'http://localhost:3000/users/sign_in'
});
If your app is proxying your API server you don’t need to customize the serverTokenEndpoint like we did, but if you’re not, you have to.
We will need an authorizer too. Thankfully, ESA provides a Devise authorizer out of the box, you just need to extend it.
Authorizers use the session data acquired by the authenticator to construct authorization data that can be injected into outgoing network requests. As the authorizer depends on the data that the authenticator acquires, authorizers and authenticators have to fit together.
Create a file named devise.js on app/authorizers/ and add the following code:
// app/authorizers/devise.js
import Devise from 'ember-simple-auth/authorizers/devise';

export default Devise.extend({});
You also need to tell the application adapter to use it on all Ember Data requests:
// app/adapters/application.js
import DS from 'ember-data';
import DataAdapterMixin from 'ember-simple-auth/mixins/data-adapter-mixin';

export default DS.JSONAPIAdapter.extend(DataAdapterMixin, {
  authorizer: 'authorizer:devise'
});
Now, you have to update our login-form component. You need to inject ember-simple-auth’s session and update the authenticate action.
The session service is the main interface to the library. It defines the authenticate, invalidate and authorize methods as well as the session events as shown above.
The session store persists the session and all of its data so that it survives a page reload. It also synchronizes the authentication status across multiple tabs or windows so that when the user logs out in one tab or window of the application, all sensitive data is also cleared in other tabs or windows of the same application as well. If the application does not define a session store, the adaptive store which uses
localStorageif that is available or a cookie if it is not, will be used by default.
// app/components/login-form.js
import Ember from 'ember';

const { service } = Ember.inject;

export default Ember.Component.extend({
  session: service('session'),

  actions: {
    authenticate: function() {
      let { identification, password } = this.getProperties('identification', 'password');
      return this.get('session').authenticate('authenticator:devise', identification, password).catch((reason) => {
        this.set('errorMessage', reason.error);
      });
    }
  }
});
You also need to update the 'connect-src' attribute on contentSecurityPolicy:
// config/environment.js
contentSecurityPolicy: {
  'connect-src': "*"
}
Now, you create the dashboard page, make it protected and redirect the user after login or a logged user accessing the root of the application.
Generate the route:
ember g route dashboardCustomize the template with a secret information and add a link to logout:
<!-- app/templates/dashboard.hbs -->
<h2>Dashboard</h2>

<p>Peter Parker is Spider-Man</p>

<a href="#" {{action 'logout'}}>Logout</a>
Now, make app/routes/dashboard.js inherit from ember-simple-auth’s AuthenticatedRouteMixin and add a logout action to it:
import Ember from 'ember';
import AuthenticatedRouteMixin from 'ember-simple-auth/mixins/authenticated-route-mixin';

const { service } = Ember.inject;

export default Ember.Route.extend(AuthenticatedRouteMixin, {
  session: service('session'),

  actions: {
    logout() {
      this.get('session').invalidate();
    }
  }
});
Last but not least, tell ember-simple-auth to redirect the user to dashboard if he’s already authenticated and the route the user should go after the being authenticated.
...

ENV['ember-simple-auth'] = {
  routeAfterAuthentication: 'dashboard',
  routeIfAlreadyAuthenticated: 'dashboard'
}
...
And now the app is working! ![]()
That wraps it up! It was a long post, but I hope you managed to make your app work. If you have something to say, hit me up on Twitter, I’m @romulomachado_ there.
See you in the next one!
Updates: Oct 10th
- Changed
authenticateaction onapp/components/login-form.js. - Removed
basefromENV['ember-simple-auth']onconfig/environment.js. (Thanks @elidupuis for the heads up!)
Updates: Oct 16th
- Made
app/routes/login.jsextendUnauthenticatedRouteMixin. (Thanks Vladimir!) - Removed deprecated
storefromENV['ember-simple-auth']onconfig/enviroment.js. - Updated installation instructions for
ember-simple-auth: 1.0.0 was merged.
Updates: Jan 13th
- Did some refactoring on
ApplicationController. - Added devise authorizer. (Thanks Tobias Schlottke!)
- Updated some ESA concepts.
Updates: Feb 19th
- Brought back old
ApplicationController, the refactored one was not working. (Thanks @kyleshevlin for pointing it out!) - Added
rack-corsstep to server-side setup.