Rômulo Machado
Writing
Creating a multi-step form with Ember
Form usability is incredibly important. As one of the primary input interfaces, the usability of a form is essential to a good user experience.
When a form has very distinct sections, it may be worth separating them into multiple parts. Checkout processes are a common example of this. They’re usually separated in personal info, shipping info, payment info and confirmation.
We’re going to create a checkout form and see how easy it is to deal with multi-step forms with Ember.
Model
We’ll create an Order model to use as an example.
$ ember generate model order name:string email:string address:string zipCode:string cardNumber:string cardVerification:string cardExpiration:string(I know that model is not great, a lot of data could go into other models, but for the sake of the example, that’ll do.)
The Order model looks like this:
// app/models/order.js
import DS from 'ember-data';

export default DS.Model.extend({
  // personal info
  name: DS.attr('string'),
  email: DS.attr('string'),

  // shipping info
  address: DS.attr('string'),
  zipCode: DS.attr('string'),

  // payment info
  cardNumber: DS.attr('string'),
  cardVerification: DS.attr('string'),
  cardExpiration: DS.attr('string')
});
The parent route
Now, we’ll generate a checkout route.
$ ember generate route checkoutWe’ll edit the checkout template and add a title.
<!-- app/templates/checkout.hbs -->
<h1>Checkout</h1>

{{outlet}}
Make sure you don’t remove the {{outlet}}. It is crucial here.
On the route’s model, we’ll create and return a new Order.
// app/routes/checkout.js
import Ember from 'ember';

export default Ember.Route.extend({
  model() {
    return this.store.createRecord('order');
  }
});
If we spin up the server and go to localhost:4200/checkout, we’ll see:
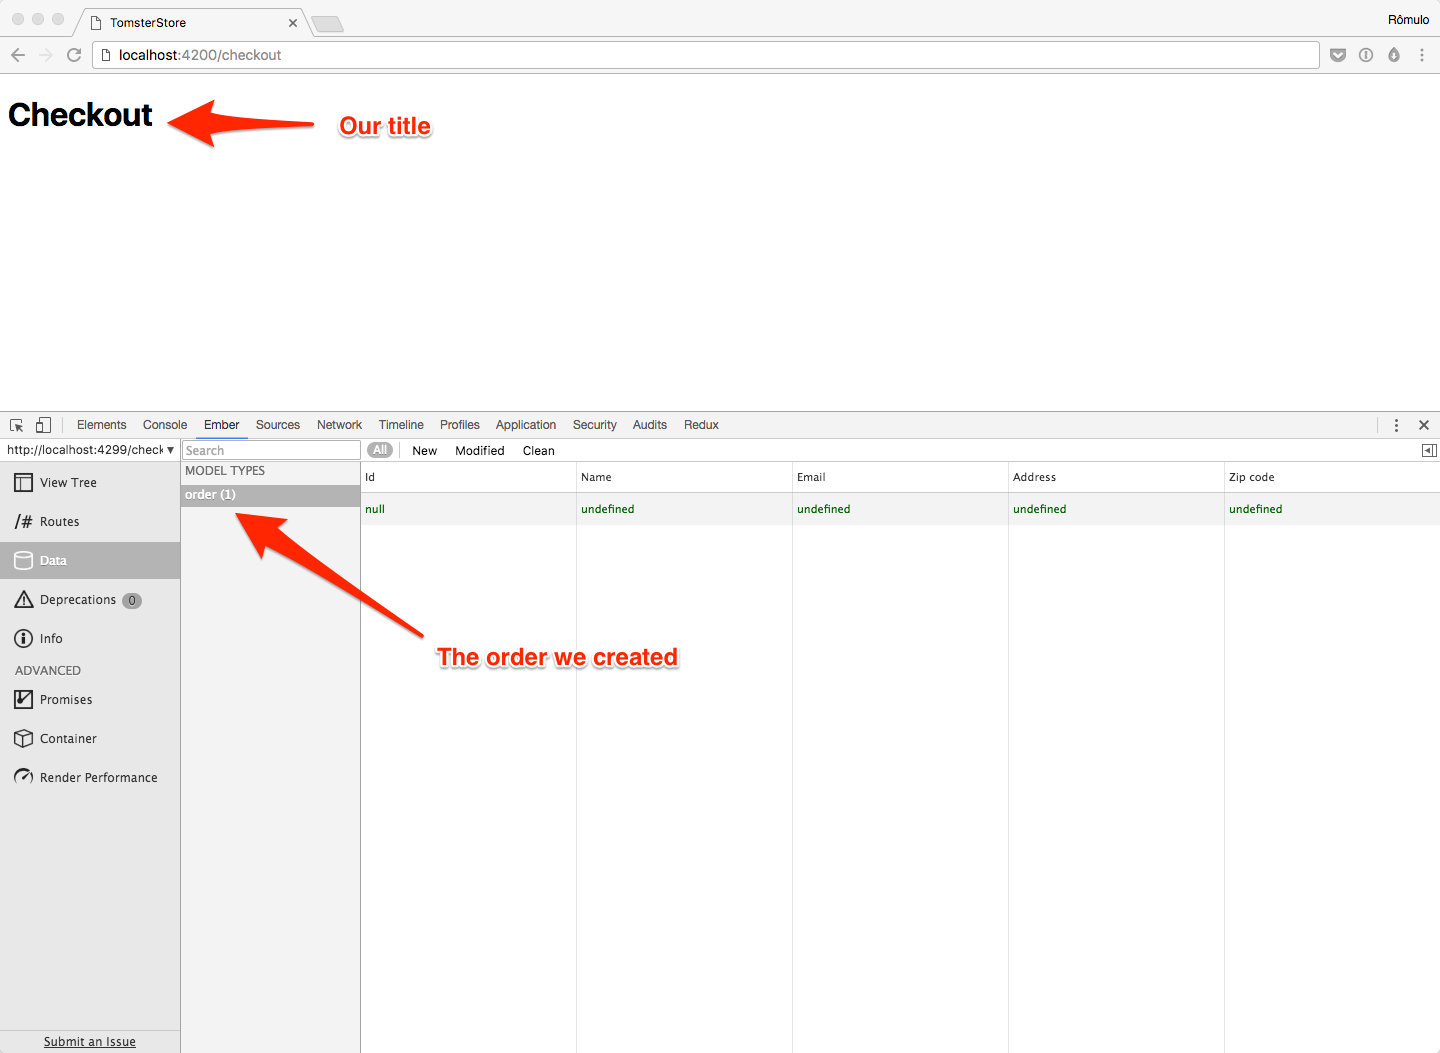
We can see the title on the page and an object order in store with Ember Inspector (if you don’t have it installed, you should). Nothing too stupendous.
The child routes
Now, we’ll make the magic happen. We need to generate four child routes (checkout/personal-info, checkout/shipping-info, checkout/payment-info and checkout/confirmation).
$ ember generate route checkout/personal-info
$ ember generate route checkout/shipping-info
$ ember generate route checkout/payment-info
$ ember generate route checkout/confirmation
The app/router.js should look like this:
Router.map(function() {
  this.route('checkout', function() {
    this.route('personal-info');
    this.route('shipping-info');
    this.route('payment-info');
    this.route('confirmation');
  });
});
We’ll edit the templates so we can locate ourselves and navigate between them.
<!-- app/templates/checkout/personal-info.hbs -->
<h2>Personal Info</h2>

{{#link-to 'checkout.shipping-info'}}Next{{/link-to}}
<!-- app/templates/checkout/shipping-info.hbs -->
<h2>Shipping Info</h2>
{{#link-to 'checkout.personal-info'}}Previous{{/link-to}}
{{#link-to 'checkout.payment-info'}}Next{{/link-to}}<!-- app/templates/checkout/payment-info.hbs -->
<h2>Payment Info</h2>
{{#link-to 'checkout.shipping-info'}}Previous{{/link-to}}The payment-info template won’t have a next link. It’ll have a submit button and after saving, we’ll redirect to confirmation.
<!-- app/templates/checkout/confirmation.hbs -->
<h2>Confirmation</h2>
Our navigation works and the checkout process looks like:

All together now 
Now, we need to create our form and make it work seamlessly with our navigation. Each step of the checkout should edit only one order object. As we have already returned one in the parent route’s model, we only need to reuse that model in the child routes.
Update all child routes (app/routes/checkout/personal-info.js, app/routes/checkout/shipping-info.js, app/routes/checkout/payment-info.js and app/routes/checkout/confirmation.js) to look like the following:
import Ember from 'ember';

export default Ember.Route.extend({
  model() {
    return this.modelFor('checkout');
  }
});
We told Ember we’re using the same model from the parent route in all child routes. Now we’re dealing with the same object in all child routes and we can split our form into them.
The personal-info template will have all “personal” fields:
<!-- app/templates/checkout/personal-info.hbs -->
<h2>Personal Info</h2>

{{input name='name' value=model.name placeholder='Enter your name'}}
{{input name='email' value=model.email placeholder='Enter your email'}}

{{#link-to 'checkout.shipping-info'}}Next{{/link-to}}
The shipping-info template will have all shipping fields:
<!-- app/templates/checkout/shipping-info.hbs -->
<h2>Shipping Info</h2>

{{input name='address' value=model.address placeholder='Enter the address'}}
{{input name='zipCode' value=model.zipCode placeholder='ZIP Code'}}

{{#link-to 'checkout.personal-info'}}Previous{{/link-to}}
{{#link-to 'checkout.payment-info'}}Next{{/link-to}}
The payment-info template will have all payment fields:
<!-- app/templates/checkout/payment-info.hbs -->
<h2>Payment Info</h2>

{{input name='cardNumber' value=model.cardNumber placeholder='Card number'}}
{{input name='cardVerification' value=model.cardVerification placeholder='CVC' maxlength=4}}
{{input name='cardExpiration' value=model.cardExpiration placeholder='Card Expiration: XX/XXXX'}}

{{#link-to 'checkout.shipping-info'}}Previous{{/link-to}}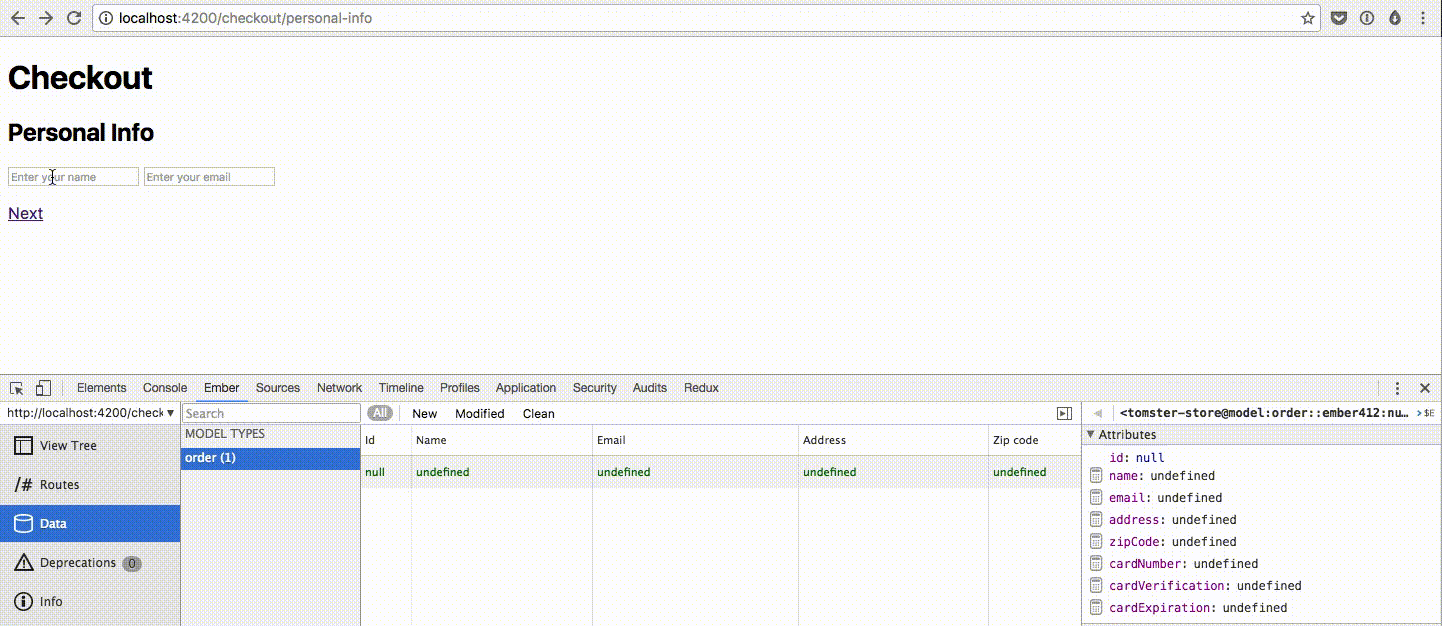
![]() Our multi-step form is working and we’re editing only one order with it.
Our multi-step form is working and we’re editing only one order with it.
We now only need to submit the form, persist the data and to redirect the user to the confirmation page. We’ll use a controller to handle this for us.
$ ember generate controller checkoutNow we tell app/routes/checkout/payment-info.js to use the controller we just generated. (It’s the route that will have the button that triggers the action.)
...

export default Ember.Route.extend({
  controllerName: 'checkout',

  ...
});
Add a button to the template:
<!-- app/templates/checkout/payment-info.hbs -->
...

<button {{action 'submitForm'}}>Buy!</button>
And create the action on app/controllers/checkout.js:
import Ember from 'ember';
export default Ember.Controller.extend({
actions: {
submitForm() {
// persist data to back-end here
console.log('Order placed!');
this.transitionToRoute('checkout.confirmation');
}
}
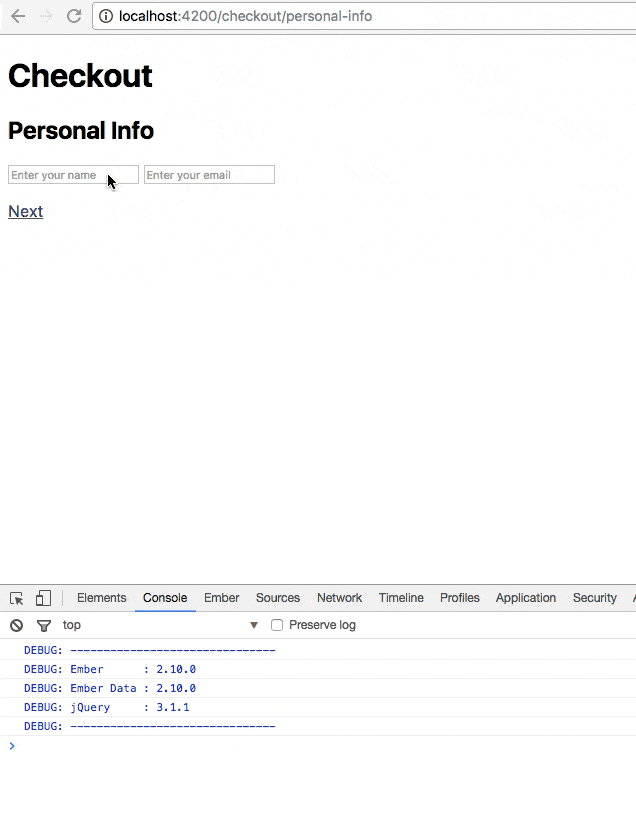
});Because we don’t have a back-end set up, I just console logged Order placed! and transitioned to the confirmation route. If we had the back-end, a simple this.get('model').save() would do the job.
And finally, we can confirm some data on app/templates/checkout/confirmation.hbs:
<!-- app/templates/checkout/confirmation.hbs -->

<h2>Confirmation</h2>

<h3>Your order had just been placed!</h3>

<h4>Personal Info</h4>

<ul>
  <li><b>Name:</b> {{model.name}}</li>
  <li><b>Email:</b> {{model.email}}</li>
</ul>

<h4>Shipping Info</h4>

<ul>
  <li><b>Address:</b> {{model.address}}</li>
  <li><b>ZIP Code:</b> {{model.zipCode}}</li>
</ul>

<h4>Payment Info</h4>

<ul>
  <li><b>Card number:</b> {{model.cardNumber}}</li>
  <li><b>CVC:</b> {{model.cardVerification}}</li>
  <li><b>Expiration date:</b> {{model.cardExpiration}}</li>
</ul>
And now our multi-step form works! ![]()
That’s wrap! Another long post, but I hope you learned how to make multi-step forms with Ember. If you have something to say, hit me up on Twitter, I’m @romulomachado_ there. If you’d like to see the complete solution, it’s on GitHub.